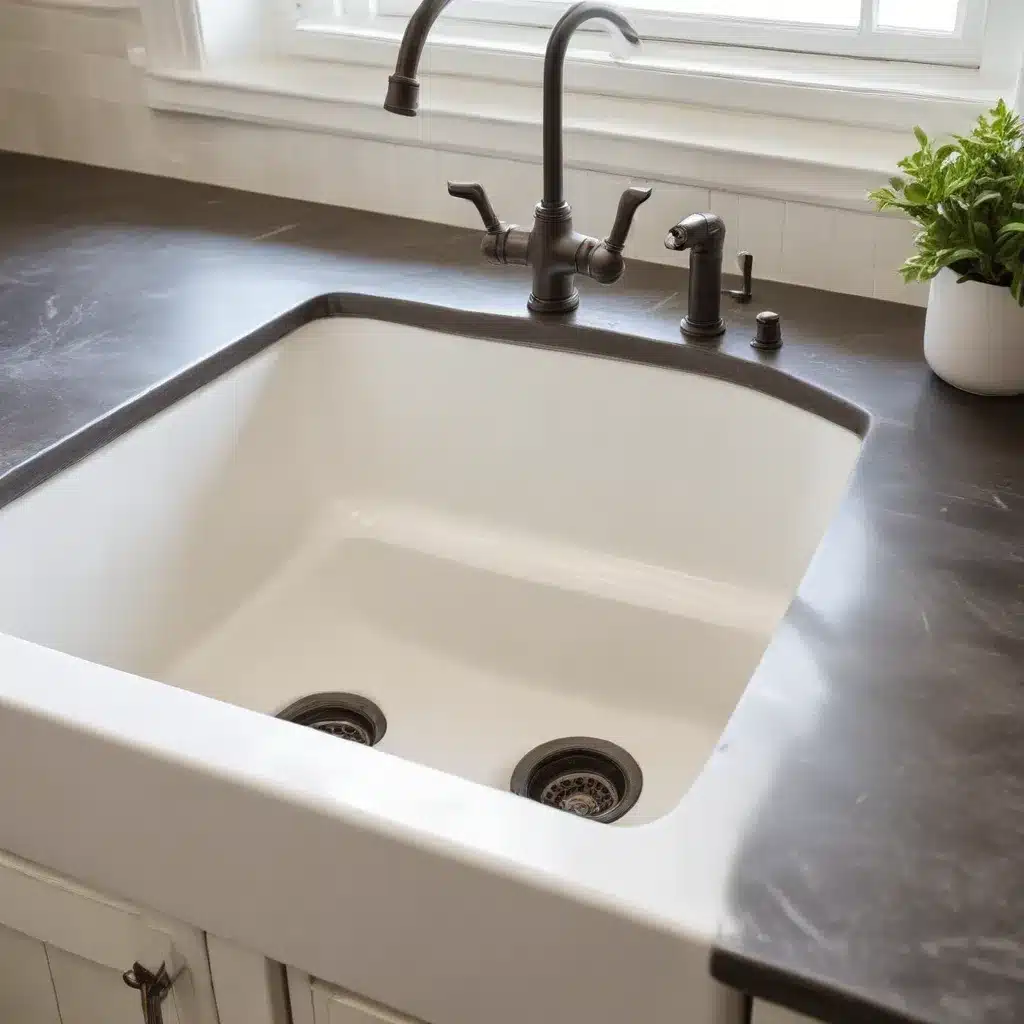
Understanding the Basics of Sink Installations
As a seasoned expert in plumbing and heating services, I’ve seen my fair share of kitchen sink installations – from straightforward swaps to intricate undermount sink replacements. Whether you’re tackling a simple faucet upgrade or a complete sink overhaul, the key to a successful DIY project lies in understanding the fundamentals.
Let’s start with the basics. When installing a new kitchen sink, you’ll typically encounter one of two mounting methods: top-mount (also known as drop-in) or undermount. Top-mount sinks sit on top of the countertop, with the sink rim resting on the surface. Undermount sinks, on the other hand, are attached from underneath, creating a seamless, flush look between the sink and the counter.
Preparing for a Top-Mount Sink Installation
For a top-mount sink, the installation process is relatively straightforward. Begin by turning off the water supply lines and disconnecting the existing faucet and plumbing. Carefully remove the old sink, taking note of how it was secured in place.
Tip: If your sink is adhered with silicone caulk, use a utility knife or putty knife to carefully cut through the sealant, taking care not to damage the countertop surface.
Once the old sink is out, clean the countertop opening thoroughly, removing any residual caulk or debris. This will ensure a clean, level surface for your new sink.
Next, apply a bead of silicone caulk around the perimeter of the cutout, then lower the new sink into place. Secure it using the provided mounting clips or brackets, tightening them evenly to ensure a snug fit.
Tip: Before fully tightening the mounting hardware, double-check that the sink is level and properly centered in the opening.
Finally, reconnect the faucet and plumbing, turn the water back on, and test for any leaks. A top-mount sink installation is a relatively straightforward process, making it an excellent DIY project for the novice plumber.
Navigating an Undermount Sink Replacement
Undermount sink installations can be a bit more complex, as they require careful planning and extra attention to detail. Begin by shutting off the water supply and disconnecting the existing plumbing, just as you would for a top-mount installation.
Tip: If your undermount sink is secured with silicone adhesive, be prepared for a more time-consuming removal process. Use a utility knife or putty knife to carefully cut through the sealant, taking care not to damage the countertop.
Once the old sink is out, inspect the countertop surface and remove any remaining adhesive or debris. This step is crucial, as you’ll need a clean, level surface to properly install the new undermount sink.
When it comes to attaching the new sink, undermount installations often involve the use of mounting clips or wooden support blocks. Follow the manufacturer’s instructions carefully, applying a generous bead of silicone caulk around the sink’s perimeter before lowering it into place.
Tip: Enlist the help of an extra set of hands to ensure the sink is properly aligned and level during the installation process.
After the sink is in place, secure the mounting clips or wooden supports, taking care not to overtighten. Allow the silicone caulk to fully cure according to the manufacturer’s recommendations before reconnecting the plumbing and turning the water back on.
Addressing Plumbing Considerations
Regardless of whether you’re installing a top-mount or undermount sink, proper plumbing is crucial for the overall functionality and longevity of your kitchen sink. When replacing an existing sink, pay close attention to the existing plumbing configuration, as you may need to make adjustments to accommodate the new sink.
Tip: If you’re unsure about the plumbing requirements or encounter any difficulties, it’s always a good idea to consult a professional plumber. Attempting complex plumbing work without the proper expertise can lead to costly leaks or other issues down the line.
One common plumbing consideration is the placement of the P-trap, the curved pipe that connects the sink drain to the main drain line. In some cases, the P-trap may be positioned below the floor level, requiring a custom configuration or the use of specialty fittings.
Another important factor is the sink drain location. If the new sink has a different drain placement compared to the old one, you may need to adjust the plumbing accordingly. This could involve relocating the drain line or installing additional fittings to ensure a proper, leak-free connection.
Tip: When in doubt, refer to the manufacturer’s installation instructions or consult a plumbing professional to ensure your sink and plumbing work seamlessly together.
Maximizing Energy Efficiency and Comfort
Beyond the installation process, there are several ways to enhance the energy efficiency and overall comfort of your kitchen sink setup. Consider upgrading to a water-efficient faucet, which can significantly reduce water usage and lower your utility bills.
Tip: Look for faucets with the WaterSense label, indicating that they meet the EPA’s criteria for water efficiency and performance.
Another important factor to consider is the insulation around your sink’s plumbing. Proper insulation can help maintain the temperature of your hot water, reducing energy consumption and ensuring a consistent, comfortable water temperature.
Tip: Explore insulation options like pipe wraps or foam sleeves to help keep your hot water hot and your cold water cold.
Conclusion
Tackling a kitchen sink installation project, whether it’s a top-mount or undermount replacement, can be a rewarding DIY experience. By understanding the fundamentals, paying close attention to the plumbing details, and prioritizing energy efficiency and comfort, you can breathe new life into your kitchen and take pride in your handiwork.
Remember, if you ever encounter any challenges or uncertainties, don’t hesitate to consult the experts at DD Plumbing and Heating. Our team of experienced professionals is always here to provide the guidance and support you need to make your kitchen plumbing projects a success.


