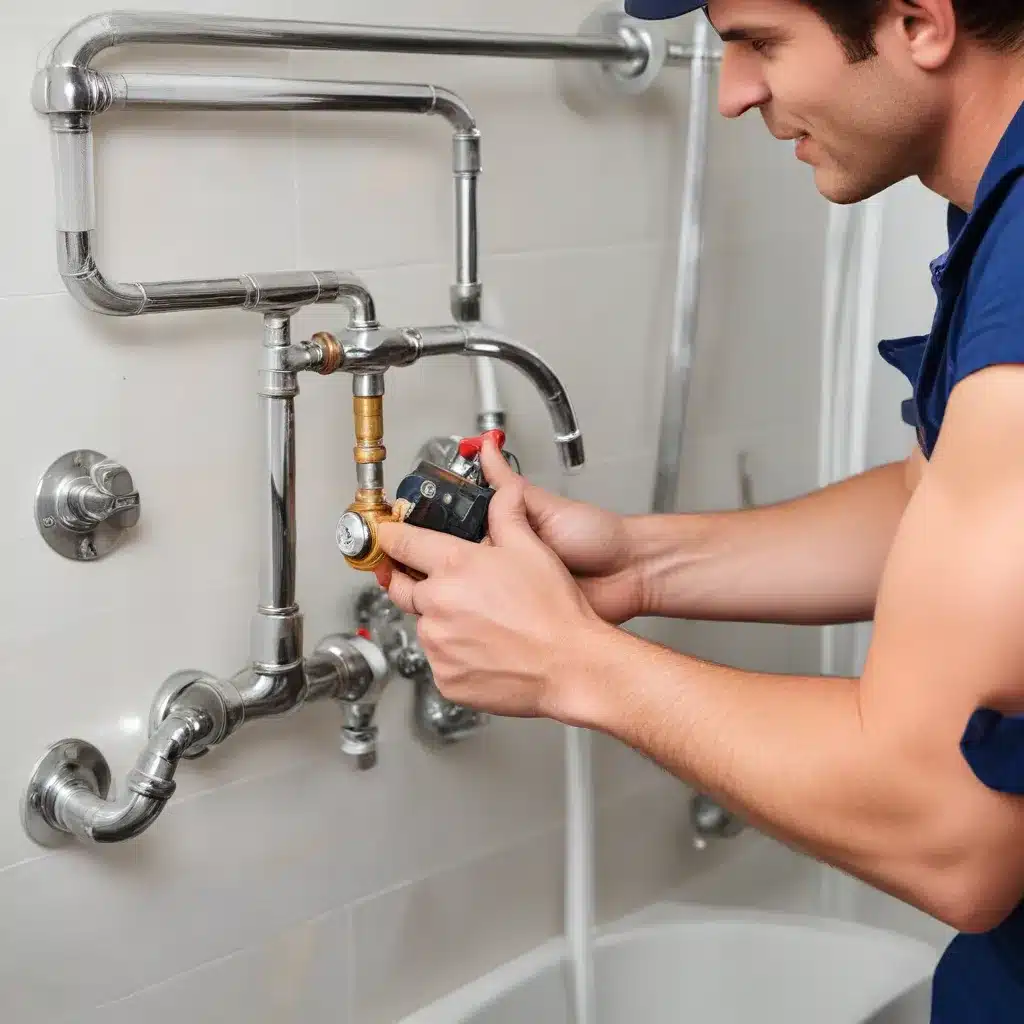
Preparing for Your Plumbing Project
Embarking on a DIY plumbing project can seem daunting, but with the right knowledge and preparation, you can tackle even the most complex tasks like a seasoned pro. Before diving in, it’s essential to gather the necessary tools, materials, and understand the safety considerations.
First and foremost, ensure you have the right personal protective equipment (PPE) on hand, such as gloves, safety glasses, and a dust mask. Plumbing work can involve exposure to various hazards, so prioritizing your safety is crucial.
Next, assemble your toolkit. The essentials include pliers, wrenches, a basin wrench, a plunger, a plumber’s snake, and a basin nut wrench. Depending on the specific project, you may also need a hacksaw, a tubing cutter, a torch, and soldering equipment. Having the right tools at your fingertips will make the job much smoother.
Turning Off the Water Supply
Before you start any plumbing work, the first step is to turn off the water supply. Locate the main water shut-off valve, which is typically found near the water meter or in the basement, and turn it clockwise to the closed position. This will ensure that water doesn’t continue to flow while you’re working, preventing potential flooding and water damage.
If you’re working on a specific fixture, such as a sink or a toilet, there may also be a shut-off valve located behind or near the unit. Ensure that you turn off the water supply to the individual fixture as well.
Removing the Old Fixture
Once the water supply is turned off, it’s time to remove the old fixture. This could be a leaky faucet, a clogged drain, or a malfunctioning toilet. Carefully follow the manufacturer’s instructions or consult online resources for step-by-step guidance on how to properly remove the old unit.
For example, when removing a toilet, start by disconnecting the water supply line, flushing the toilet to empty the tank, and then unscrewing the bolts that secure the toilet to the floor. Gently rock the toilet back and forth to break the seal, and then lift it straight up and out.
Preparing the Surface
Once the old fixture is removed, it’s time to prepare the surface for the new installation. This may involve cleaning the area, removing any old caulk or sealant, and ensuring the surface is level and free of debris.
For a sink or faucet installation, use a putty knife to scrape away any old caulk or sealant around the sink’s edges. Make sure the countertop surface is clean and dry before proceeding.
In the case of a toilet installation, inspect the condition of the toilet flange, which is the fitting that connects the toilet to the drain pipe. If the flange is damaged or corroded, it will need to be repaired or replaced before you can install the new toilet.
Installing the New Fixture
With the surface prepped, it’s time to install the new fixture. Carefully follow the manufacturer’s instructions, as the specific steps may vary depending on the type of fixture you’re installing.
For a faucet, start by applying a bead of plumber’s putty or silicone sealant around the underside of the faucet base. Then, carefully lower the faucet into the sink’s mounting hole and secure it in place with the included hardware.
When installing a toilet, begin by placing a new wax ring onto the drain flange. Gently lower the toilet bowl over the bolts protruding from the floor, aligning it with the drain. Press down firmly to create a secure seal, and then tighten the nuts to hold the toilet in place.
Making Connections and Adjustments
After the fixture is in place, it’s time to make the necessary connections and adjustments. This may involve connecting the water supply line, adjusting the faucet’s water flow, or ensuring the toilet is level and secure.
For a sink or faucet installation, use a wrench to tighten the connections between the faucet and the water supply lines. Turn the water back on and check for any leaks, making adjustments as needed.
When installing a toilet, connect the water supply line to the tank and turn the water back on. Flush the toilet several times to check for proper operation and ensure there are no leaks around the base.
Testing and Troubleshooting
With the new fixture installed, it’s time to test it thoroughly to ensure it’s functioning correctly. Run water through the system, check for any leaks, and make any final adjustments as necessary.
If you encounter any issues, such as a leaky connection or a toilet that won’t flush properly, don’t hesitate to troubleshoot the problem. Consult online resources, manufacturer instructions, or reach out to a professional plumber for guidance.
Maintaining Your Plumbing System
Proper maintenance is key to keeping your plumbing system in top condition and preventing future issues. Regularly inspect your fixtures, clean drains, and address any problems promptly to avoid more significant and costly repairs down the line.
Remember to follow the manufacturer’s recommendations for cleaning and maintenance, and consider investing in a water filtration system or a tankless water heater to improve the efficiency and longevity of your plumbing components.
Conclusion
Mastering the art of DIY plumbing may seem daunting at first, but with the right preparation, tools, and a little know-how, you can tackle even the most complex projects. By following the step-by-step guide outlined in this article, you’ll be well on your way to becoming a confident and capable DIY plumber, saving time and money while enhancing the functionality and comfort of your home.
If you encounter any challenges or require additional assistance, don’t hesitate to reach out to the team at DD Plumbing and Heating. Our experienced professionals are always here to lend a helping hand and ensure your plumbing projects are a success.


