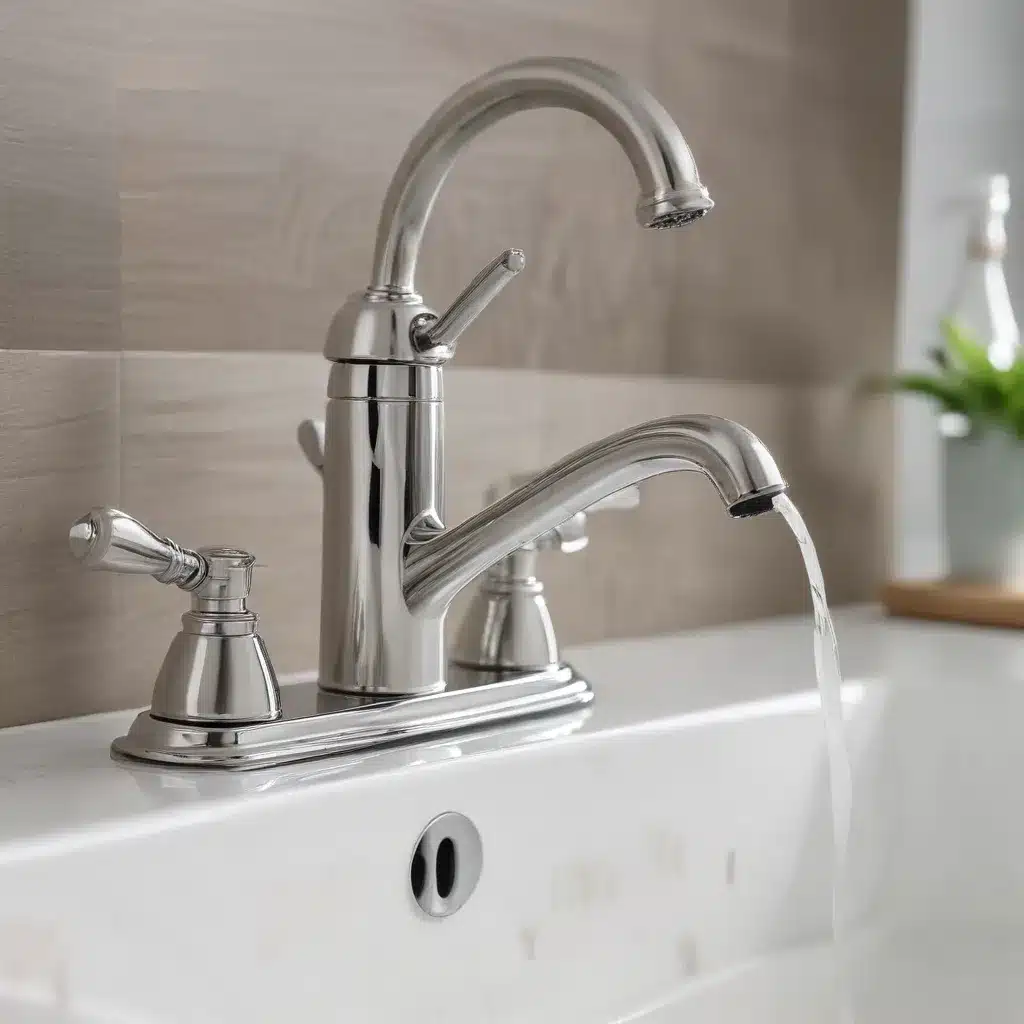
Identifying and Addressing Faucet Leaks
Drip, drip, drip – the incessant sound of a leaky faucet can be enough to drive any homeowner up the wall. While a minor annoyance, those persistent drips can lead to significant water waste and even pose a risk of water damage or mold growth if left unattended. As a seasoned plumbing and heating expert, I’m here to share my insights on diagnosing and resolving faucet leaks, empowering you to maintain your home’s plumbing with confidence.
At the first sign of a leaky faucet, it’s essential to act quickly. Ignoring the problem can result in wasted water, higher utility bills, and potential damage to surrounding surfaces and fixtures. Fortunately, many faucet leaks are relatively straightforward to repair, provided you have the right tools and a bit of know-how.
Identifying the Source of the Leak
The first step in addressing a leaky faucet is to determine the root cause. Common culprits include worn-out washers, faulty O-rings, or damaged valve seats and springs. To identify the problem, start by closely inspecting the faucet. Look for any visible signs of wear or damage, such as cracks, corrosion, or mineral buildup. If the leak is coming from the base of the faucet, the issue may be with the mounting hardware or a faulty seal.
Once you’ve pinpointed the source of the leak, you can then decide whether a simple repair or a full faucet replacement is the best course of action. For minor issues, like a worn-out washer, a DIY repair may be a cost-effective solution. However, if the faucet is severely damaged or the leak is more complex, it may be more practical to replace the entire fixture.
DIY Faucet Repair: Tackling Common Issues
If you’re comfortable with basic plumbing tasks, you may be able to tackle a faucet repair yourself. Before diving in, ensure you have the necessary tools on hand, such as a basin wrench, pliers, and replacement parts specific to your faucet model.
Replacing Washers and O-Rings
One of the most common faucet repairs involves replacing worn-out washers and O-rings. These components create a tight seal, preventing water from leaking out. To replace them:
- Turn off the water supply to the faucet.
- Disassemble the faucet, carefully removing any handles, escutcheons, or other components to access the internal parts.
- Locate the worn washers and O-rings, and replace them with new, compatible parts.
- Reassemble the faucet, ensuring all components are properly aligned and tightened.
- Turn the water back on and check for any remaining leaks.
Repairing Valve Seats and Springs
If the faucet’s internal components, such as the valve seats and springs, are damaged or corroded, more extensive repair work may be required. This process involves disassembling the faucet further and carefully replacing the affected parts. Be sure to consult your faucet’s manufacturer instructions or seek the guidance of a professional plumber if you’re unsure about tackling this type of repair.
Ensuring a Proper Fit
It’s important to note that not all faucets are created equal – their compatibility with your bathroom or kitchen sink can vary. When selecting a replacement faucet, pay close attention to the mounting configuration, the number of holes in your sink, and the spacing between them. Choosing a faucet that matches your existing setup will ensure a seamless and secure installation.
Upgrading to a New Faucet: Considerations and Benefits
If your faucet is beyond repair or you simply want to give your bathroom or kitchen a fresh, updated look, it may be time to consider a full replacement. Upgrading to a new faucet can bring a host of benefits, from improved water efficiency to enhanced aesthetics.
When selecting a new faucet, take the time to explore the various styles, finishes, and features available. Consider factors such as the faucet’s flow rate, water-saving capabilities, and accessibility features, like a pull-down or touchless design. Upgrading to a more efficient faucet can not only save you money on your water bills but also contribute to your home’s overall environmental sustainability.
Enlisting the help of a professional plumber can ensure a seamless faucet installation process, minimizing the risk of leaks or other issues down the line. The experts at DD Plumbing and Heating have the tools, knowledge, and experience to handle even the most complex faucet replacements, delivering exceptional results and peace of mind.
Maintaining Faucet Performance and Longevity
To keep your faucets functioning at their best, it’s essential to establish a regular maintenance routine. This includes:
- Regularly cleaning the aerator to remove any built-up mineral deposits or debris
- Inspecting the faucet for signs of wear, such as drips or decreased water pressure
- Lubricating moving parts, like the faucet handle and stem, to ensure smooth operation
- Addressing any issues promptly to prevent further damage or water waste
By staying proactive with faucet maintenance, you can extend the lifespan of your fixtures and avoid the hassle of sudden, unexpected leaks or malfunctions.
Conclusion
Mastering the art of faucet repair and replacement is a valuable skill for any homeowner. Whether you’re dealing with a persistent drip or simply want to upgrade the look and functionality of your bathroom or kitchen, understanding the nuances of faucet maintenance and installation can save you time, money, and headaches in the long run.
By following the steps outlined in this comprehensive guide, you’ll be well on your way to tackling faucet-related issues with confidence. Remember, if you ever feel unsure or encounter a problem that’s beyond your DIY capabilities, don’t hesitate to reach out to the experts at DD Plumbing and Heating. With their expertise and dedication to excellence, you can rest assured that your faucets will be in good hands.
Happy plumbing!


