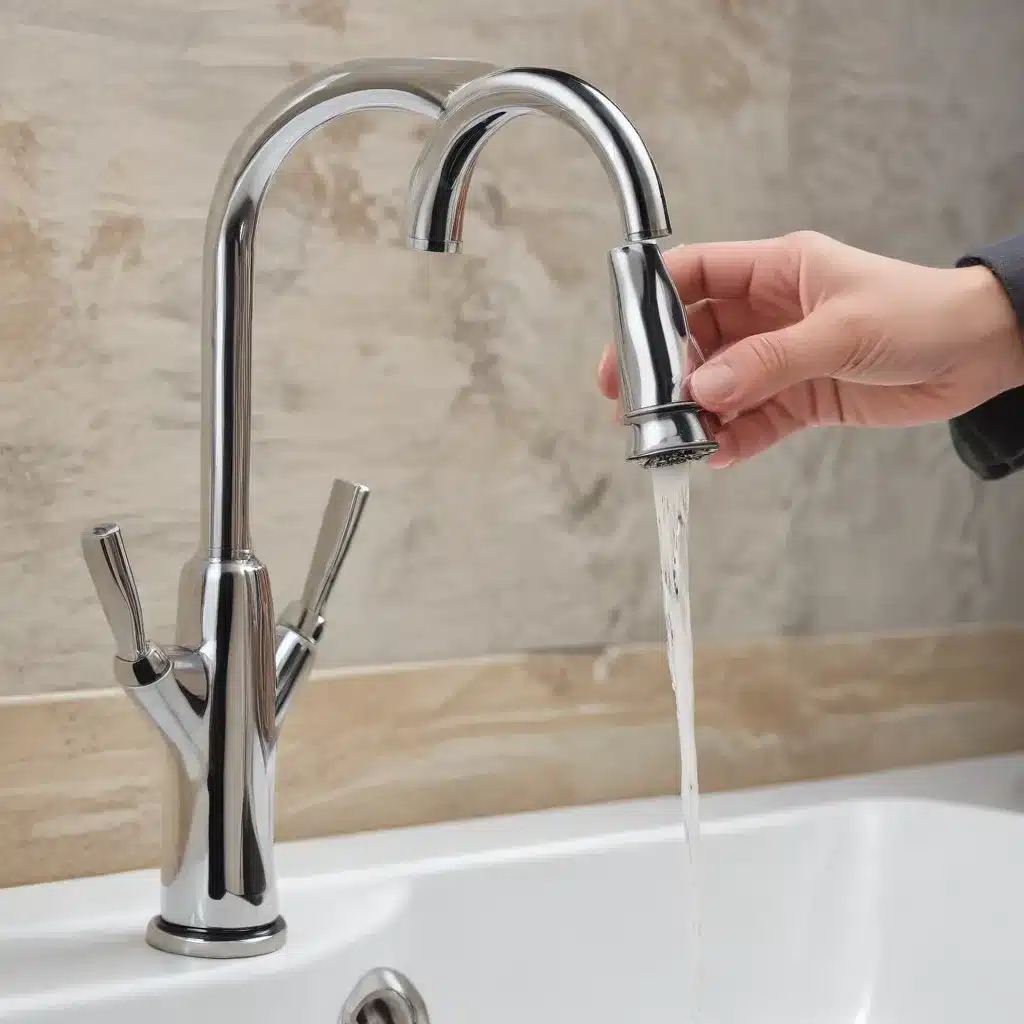
Identifying the Drip Dilemma
Ah, the familiar sound of a dripping faucet – a plumbing nuisance that can drive even the most patient homeowner to the brink of insanity. But fear not, fellow plumbing enthusiasts! With the right knowledge and a bit of elbow grease, you can conquer this drip dilemma and restore the tranquility of your home.
Let’s start by understanding the root cause of a leaky faucet. Often, the culprit is a worn-out rubber washer or a corroded faucet seat and spring. Over time, the constant use and exposure to water can take a toll on these delicate components, leading to a frustrating drip, drip, drip.
Faucet Repair: A Step-by-Step Approach
Gathering the Right Tools
Before diving in, make sure you have the necessary tools on hand. You’ll need a basin wrench, a faucet stem puller, a basin pliers, some replacement washers or O-rings, and a clean rag or towel. With these tools at the ready, you’ll be well-equipped to tackle the repair process.
Shutting Off the Water Supply
The first crucial step is to shut off the water supply to the faucet. This is typically done by locating the shutoff valves underneath the sink or behind the faucet. Turn the valves clockwise to the fully closed position, and then turn on the faucet to release any remaining water pressure.
Disassembling the Faucet
Now, it’s time to take the faucet apart. Use your basin wrench to loosen and remove the faucet stem, which is the central component that controls the water flow. Carefully pull out the stem, taking note of the order in which the washers, springs, and other parts are arranged. This will make reassembly a breeze.
Once the stem is out, you can inspect the washers and seals for any signs of wear or damage. If they are cracked, brittle, or no longer providing a tight seal, it’s time to replace them.
Replacing Worn Parts
Head to your local hardware store or plumbing supply shop and find the appropriate replacement washers or O-rings for your specific faucet model. Carefully install the new parts, making sure they are properly aligned and seated.
While you’re at it, consider replacing the faucet seat and spring as well, as these components can also contribute to a leaky faucet. The seat and spring work together to create a tight seal, and if they are worn, they can allow water to seep through.
Reassembly and Testing
With the new parts in place, it’s time to put the faucet back together. Carefully reinsert the stem, ensuring that all the components are properly aligned and seated. Tighten the faucet using your basin wrench, being careful not to overtighten.
Turn the water supply back on and check for any leaks. If all is well, you’ve successfully repaired your faucet and can enjoy the sweet sound of a drip-free water flow.
Faucet Replacement: When Repair Isn’t Enough
Sometimes, a faucet is beyond repair, and the best solution is to replace it entirely. This may be the case if the faucet is significantly worn, the parts are no longer available, or you simply want to upgrade the look and functionality of your kitchen or bathroom.
Choosing the Right Replacement
When selecting a new faucet, consider factors such as the style, finish, and features that best suit your needs and the existing decor. Do you prefer a traditional, single-handle faucet or a more modern, two-handle design? Would a pull-down or pull-out sprayer be a useful addition?
Take measurements of your current faucet’s size and configuration to ensure the replacement will fit seamlessly. It’s also a good idea to check the number of holes in your sink or countertop, as this will dictate the type of faucet you can install.
Replacing the Faucet
Shut off the water supply and open the faucet to relieve any remaining pressure. Use your basin wrench to disconnect the faucet from the sink or countertop, and carefully remove the old faucet.
Clean the mounting surface thoroughly to ensure a proper seal for the new faucet. Follow the manufacturer’s instructions for installing the replacement, taking care to properly secure the faucet and connect the water supply lines.
Once the new faucet is in place, turn the water back on and check for any leaks. If all is well, you can enjoy the fresh, updated look and improved functionality of your new faucet.
Enhancing Energy Efficiency and Home Comfort
Faucet repair and replacement aren’t just about fixing a pesky drip – they can also contribute to overall energy efficiency and home comfort. A leaky faucet can waste hundreds of gallons of water per year, driving up your utility bills and leaving a larger environmental footprint.
By addressing these issues, you can not only save money but also do your part in conserving precious water resources. Additionally, upgrading to a high-efficiency, water-saving faucet can provide a more enjoyable and comfortable experience, with improved water pressure and temperature control.
Conclusion: A Drip-Free Future Awaits
Mastering the art of faucet repair and replacement is a valuable skill that can save you time, money, and a whole lot of frustration. By following the steps outlined in this guide, you’ll be well on your way to conquering the drip dilemma and creating a harmonious, plumbing-problem-free home.
Remember, if you ever feel overwhelmed or encounter a particularly stubborn issue, don’t hesitate to consult a professional plumber. The team at DD Plumbing and Heating is always here to lend a helping hand and ensure your plumbing and heating systems are running at their best.


